- 1. First, Verify “Credentials” – Specifications, Marking, and Traceability
- 2. Chemical Composition
- 3. Mechanical Properties (Tensile Strength/Yield Strength/Elongation)
- 4. Welds and Heat Treatment (ERW/Welding Quality Control)
- 5. Post-Forming and Post-Welding Tests: Flattening, Bending, Hydrostatic, and Electric Testing (Critical “Quality Gates”)
- 6. Factory Capabilities and Records (The Most Trustworthy Indicators for Buyers)
- 7. Quick Inspection Checklist
- 8. Why Entrusting Audits to Capable Suppliers Saves Time and Effort
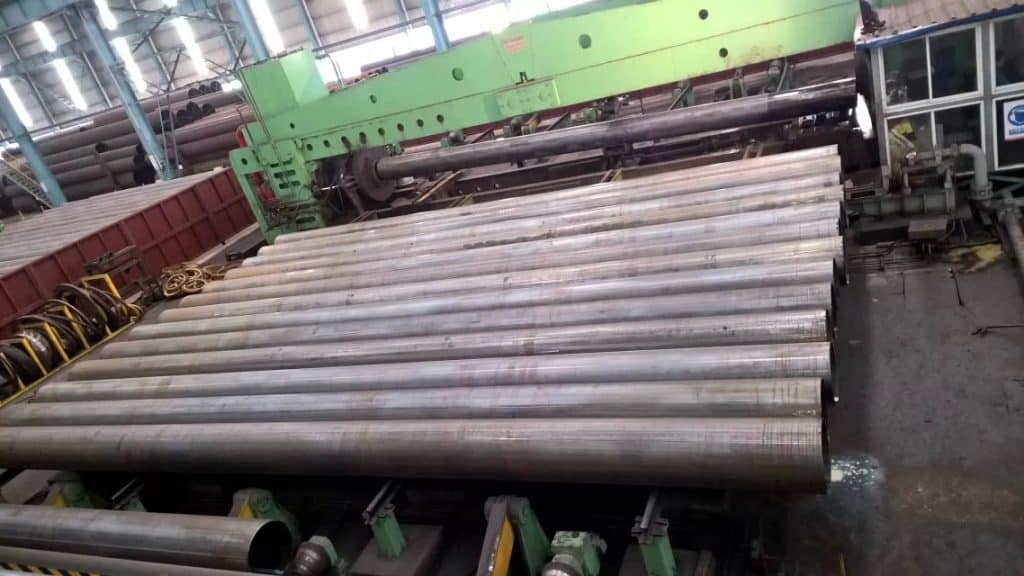
During a factory audit, six core areas must be prioritized for verification: (1) Product specifications and standard scope (ASTM A53 applicable scope); (2) Chemical composition and sampling methods; (3) Mechanical properties (tensile strength, yield strength, elongation); (4) Forming/weld quality (flattening/tempering, weld inspection); (5) Post-forming/welding tests (flattening, bending, hydrostatic testing, and electric testing); (6) Inspection records/MTC and in-house laboratory capabilities. Each area has clear ASTM requirements and acceptance criteria—auditors shall verify them one by one and retain evidence (test reports, photos, test blocks, and records).
First, Verify “Credentials” – Specifications, Marking, and Traceability
Cross-check whether the Material Test Certificate (MTC), product type (Type E/F/S), grade (Grade A/B), dimensions, wall thickness, and tolerances on the purchase order align with ASTM A53 requirements. ASTM A53 defines the applicable size range and supplementary requirements; purchase orders must clearly specify the required Supplementary Requirements.
Chemical Composition
- Purpose: Ensure the composition meets mechanical property and weldability requirements (limits for C, Mn, P, S, and trace alloying elements).
- Implementation Steps: Sampling shall follow ASTM A53 requirements (batch sampling rules); chemical analysis shall comply with ASTM A751(chemical analysis methods); sampling shall be executed per ASTM E1806. Buyers have the right to randomly sample and re-test non-conforming products within every 500 pipes.
- Typical Limits (Examples): Grade A: C ≤0.25%, Mn ≤0.95%; Grade B: C ≤0.30%, Mn ≤1.20% (see Table 1for full details). During the audit, review original analysis reports (spectra/chemical tables) and cross-verify with Table 1.
Mechanical Properties (Tensile Strength/Yield Strength/Elongation)
- Purpose: Confirm the pipe’s strength and plasticity meet design requirements.
- Implementation Steps: Sampling for tensile testing shall follow ASTM A53; generate a tensile curve and record tensile strength, yield value, and elongation. If in doubt, request re-testing or third-party testing.
- Standard Requirements (Examples): Grade B requires a minimum tensile strength of approximately 415 MPa and a minimum yield strength of approximately 240 MPa (see the standard table for full details). During the audit, cross-check original test reports and sample numbers.
Welds and Heat Treatment (ERW/Welding Quality Control)
- Purpose: Ensure weld microstructure and integrity (prevent untempered martensite and laminar defects).
- Implementation Steps: For Electric Resistance Welded (ERW) Type E Grade B pipes, ASTM A53 requires necessary post-weld heat treatment or process treatment to eliminate untempered martensite. During the audit, request process cards, heat treatment records, and weld inspection reports (including visual inspection, dimensional checks, and necessary NDT).
Post-Forming and Post-Welding Tests: Flattening, Bending, Hydrostatic, and Electric Testing (Critical “Quality Gates”)
- Flattening/Bend Tests
-
- Purpose: Verify the ductility and bonding of welds and base metal under deformation.
- Implementation: Conduct flattening/bending tests per ASTM A53-specified sample dimensions and weld position (typically 90°) until the required deformation is achieved (e.g., flattened to 2/3 of the outer diameter or as per grade-specific tables). During the audit, request test bench photos, test reports, and evidence of no cracks/delamination.
- Hydrostatic Test and Non-Destructive Electric Test
-
- Purpose: Verify that welds and pipe bodies are leak-free and structurally intact under internal pressure.
- Key Implementation Points: ASTM A53 specifies test pressures based on NPS/specifications, holding time, and leak-check requirements. ERW pipes often require electric testing (e.g., flux leakage testing) on welds to detect defects. During the audit, verify pressure gauge records, holding time, and electric test records for each pipe or per sample.
Factory Capabilities and Records (The Most Trustworthy Indicators for Buyers)
- In-House Laboratory
-
- Prioritize manufacturers with full-range testing capabilities: chemical analysis, tensile testing, impact testing (if required), flattening/bending tests, hydrostatic testing, and NDT (UT/electric testing/penetrant testing). Factories that can issue on-site test reports with unique serial numbers and signatures are more credible than those relying solely on marketing claims.
- LONGMA’s in-house laboratory integrates chemical, mechanical, and NDT testing, enabling rapid response, shortened lead times, and traceable MTCs.
- Document Verification Checklist (Mandatory for Audits)
-
- Material Test Certificate (MTC), sampling records, original sampling/analysis data per A751/E1806, tensile curves, hydrostatic test curves, NDT reports, heat treatment records, outgoing marking photos, production line welding parameters, and process cards.
Quick Inspection Checklist
| Item | Purpose | Key Basis (ASTM) | Audit Evidence |
| Specifications/Marking | Confirm product type/grade | ASTM A53 Scope | MTC, labels, purchase order |
| Chemical Composition | Ensure strength/weldability | Table 1; ASTM A751; ASTM E1806 | Chemical analysis report, spectra |
| Tensile Test | Verify strength and ductility | ASTM A53 Tensile Requirements Table | Tensile test report, sample number |
| Flattening/Bending | Verify weld/base metal ductility | ASTM A53 §7.2/§7.3 (Flattening/Bending) | Test report, photos |
| Hydrostatic/Electric Test | Verify tightness and defect detection | ASTM A53 Hydrostatic Pressures & NDT Requirements | Hydrostatic curve, electric test records |
Why Entrusting Audits to Capable Suppliers Saves Time and Effort
When procuring, choosing suppliers with integrated in-house testing capabilities (chemical, mechanical, and NDT) significantly reduces procurement risks (rework, returns, project delays). With over 20 years of steel pipe manufacturing experience, LONGMA emphasizes its “in-house laboratory” and traceable MTCs—such proven performance and records are more reassuring for buyers than empty promises. If needed, we can provide factory test samples, test photos, and standard comparison checklists to help you convert audit checklists into on-site inspection forms for easy implementation and archiving.
