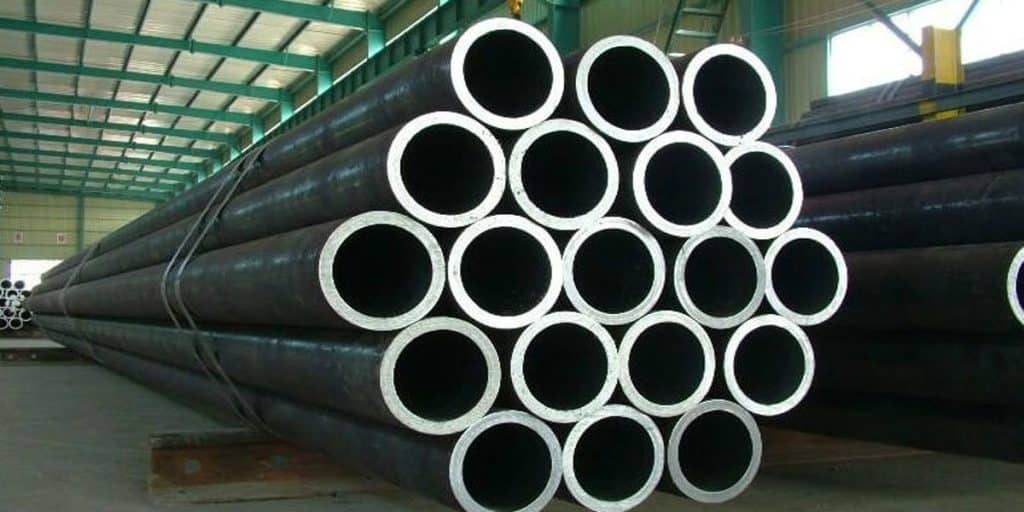
The core requirements for grinding after welding include ensuring the weld surface is smooth and flat, removing slag and defects, controlling the base metal removal amount to no more than 5% of the thickness or 0.2mm, aligning the grinding texture with the weld direction, and adjusting specific operations according to the welding type (e.g., thermit welding) and material (e.g., stainless steel).
Main Purposes of Grinding After Welding
Eliminate Surface Defects: Remove slag, spatter, porosity, undercut, and other flaws to prevent crack risks caused by stress concentration.
- Optimize Geometric Shape:
- Reduce weld reinforcement to minimize stress concentration (e.g., butt weld reinforcement ≤ 0.5mm);
- Ensure smooth transition of fillet welds to meet assembly accuracy requirements.
- Enhance Corrosion Resistance:
- Remove oxide layers and carburized layers (especially for stainless steel) to restore material corrosion resistance;
- Obtain a uniform surface to improve coating adhesion.
- Meet Non-Destructive Testing (NDT) Requirements:
- Provide a smooth surface for NDT (e.g., PT/MT) to avoid false defects interfering with judgment.
- Improve Appearance Quality:
- Meet product aesthetics requirements (e.g., decorative components).
Basic Principles and Operational Specifications for Grinding
Necessity Control: Weld strength is usually lower than that of the base metal. Grinding is only allowed for geometric dimension adjustment or defect repair; excessive grinding that weakens strength should be avoided. For special welds such as thermit welds, the grinding range must be strictly controlled.
Surface Treatment Requirements: Remove slag, spatter, oxide layers, and defects such as cracks and porosity; grind until a metallic luster is achieved.
The weld should be smooth and fish-scale shaped, without bulges, burrs, or sharp edges. Welds on box-type workpieces must not be higher than the plane.
Dimension and Texture Specifications: The base metal removal amount shall not exceed 5% of the thickness or 0.2mm, and the grinding depth shall be uniform. The texture must be parallel and consistent with the weld direction; irregular grinding is prohibited.
Before grinding, first check for spatter, porosity, and cracks around the weld, and mark the areas requiring treatment with a marker.
Phased Grinding Requirements:
Pre-Weld Grinding: Cover 20-50mm on both sides of the weld, remove the oxide film, and grind to a metallic luster with the texture parallel to the weld direction.
Post-Weld Grinding:
Reinforcement Grinding: Cover 20-50mm on both sides of the weld; use an angle grinder to remove reinforcement in parallel without damaging the base metal in depressed areas.
Defect Treatment: Scratches or spatter areas shall be ground directionally within a rectangular frame, with the removal amount not exceeding 0.2mm.
Joint Treatment: Use a straight grinder to remove defects at arc start/end points to ensure no sharp edges.
Special Material Treatment:
Stainless Steel: Conduct rough grinding (80-120 grit), medium grinding (180-240 grit), fine grinding (400-600 grit), and polishing to restore luster.
Specific requirements for post-weld grinding (grinding treatment of allowable welding defects) are as follows:
- Grinding of Weld Joints: Poor weld joints are allowed to be ground after welding, and the weld surface shall transition smoothly.
- Grinding of Excessive Weld Reinforcement, Excessive Weld Legs, or Asymmetric Fillet Welds: The grinding direction shall be parallel to the weld force-bearing direction. After grinding with a grinding wheel, use a conical grinding wheel to achieve a smooth transition of the weld surface.
- Grinding of Mild Undercut: If the undercut depth does not exceed 0.5mm and is confirmed by QA to be within the standard acceptance range, grinding with a cloth grinding wheel is allowed, ensuring a smooth transition during grinding.
Selection of Grinding Tools
Tool Matching: Select grinding wheel machines, angle grinders, or straight-handle grinders according to the weld type; for stainless steel, prioritize flocked sandpaper to avoid residual marks from repeated operations.
- Manual Grinding
Tools: Angle grinders (equipped with grinding wheels/flap discs), files, reamers, scrapers, steel wire brushes, air chippers, etc.
Grinding Wheel Selection:
Rough Grinding (removing weld beads): 60~80 grit alumina grinding wheels;
Fine Grinding (surface treatment): 120~240 grit sandpaper/fiber discs.
Operational Specifications: Grind at a constant speed along the weld direction to avoid local overheating (control temperature below 150℃ for stainless steel); maintain an inclination angle of 15°~30° to prevent scratching the base metal.

Specific Usage Requirements for Grinding Tools:
- Grinding Wheel Machine:
- Clean and grind weld grooves before welding;
- Remove rust, oil, and other impurities from the material surface;
- Grind grooves before assembly;
- Grind weld joints;
- Clean and grind between weld layers and backgouge;
- Grind repair grooves for welds.
- Corner Grinding Machine:
- Grind weld joints at corners;
- Grind repair grooves for welds;
- Backgouge
- Mill cutters: Select appropriate reamers according to different grinding spaces for root cleaning and grinding.
- Steel Wire Grinding Wheel: Remove rust attached to welds or material surfaces.
- Air Chipper:
- Clean between weld layers to remove oxide scale or slag;
- Clean surfaces to remove oxide scale and spatter.

- Mechanical Automatic Grinding
Equipment: Robotic grinding systems, CNC belt sanders, etc.
Applicable Scenarios: Mass production or high-precision requirements (e.g., tread straightness of rail welding joints ≤ 0.3mm/m).
Advantages: High consistency and controllable dust.
- Special Material Treatment Processes
| Material Type | Key Measures |
| Stainless Steel | Use dedicated iron-free grinding wheels; perform pickling and passivation after grinding to prevent intergranular corrosion |
| Aluminum Alloy | Low rotational speed (≤3000rpm) + soft nylon brushes to prevent overheating and deformation |
| Titanium Alloy | Use pure aluminum oxide grinding wheels; perform isolated operations to avoid iron contamination |
- For stubborn oxide colors, try stainless steel-specific pickling paste: apply, let stand for two minutes, then rinse. For slag inclusion from multi-layer welding, first locate the defect with a tungsten steel scriber, then locally trim with a 0.5mm thin grinding wheel. Color difference after grinding is normal, especially for dissimilar steel welding joints; sandblasting is more effective than repeated grinding.
- After aluminum alloy welding, a layer of weld black (mainly composed of oxidized metals volatilized at high temperatures) usually forms on the weld surface. This weld black should be treated immediately to prevent oxidized metals from absorbing moisture in the air, corroding the weld surface, and affecting weld quality. In addition, after welding, the arc start/end craters and weld joints should be ground to achieve a smooth transition and prevent stress concentration, thereby ensuring the welding quality of the workpiece. Special attention should be paid to aluminum grinding: the sandpaper grit should jump to above 240 grit, otherwise, invisible scratches will occur. At this time, use a strong flashlight to illuminate obliquely; a continuous light band on the reflective surface indicates qualification.
- Grinding after titanium alloy welding is a key step to ensure welding quality, improve part performance, and enhance aesthetics. Use stainless steel wire brushes or sandpaper (grit ≥120) to remove spatter, slag, and temporary protectants (e.g., glass powder) around the weld. Avoid using carbon steel tools to prevent iron ion contamination of the titanium alloy surface.
Removal of Oxide Layers:
Mechanical Grinding: Use cemented carbide (YG8) or ceramic grinding wheels with cooling fluid (e.g., emulsified fluid) to prevent overheating and oxidation.
Chemical Pickling: For complex structures or precision parts, use a mixed solution of hydrofluoric acid (HF) + nitric acid (HNO₃) (ratio 1:3~1:5) for short-term immersion (≤5 minutes). After removing the oxide layer, rinse immediately with water and dry.
Rough Grinding Stage: Use an electric angle grinder equipped with cemented carbide bits or fiber-reinforced resin grinding wheels (grit 80~120) to remove weld reinforcement and obvious defects.
Key Point: Control the feed rate to avoid material performance degradation caused by local overheating.
Fine Grinding Stage: Replace with 240~400 grit sandpaper or elastic grinding discs, and gradually reduce the surface roughness to Ra≤0.8μm. Adopt cross-grinding method (longitudinal first, then transverse) to ensure surface uniformity.
Edge Treatment: Chamfer the base metal on both sides of the weld (0.5~1mm×45°) to eliminate sharp edges and prevent stress concentration.
Immediately perform pickling and passivation after grinding (e.g., 5% nitric acid + 2% hydrofluoric acid solution, soak at room temperature for 10~20 minutes) to form a dense oxide film. After passivation, rinse with deionized water and dry to avoid corrosion by residual acid.
Titanium alloy is prone to oxidation above 400℃; continuous cooling is required during grinding to avoid local overheating. After grinding, inspect surface hardness (HV≥300), roughness (Ra≤0.8μm), and corrosion resistance (salt spray test ≥500 hours without rust).
Grinding Safety Measures
- Wear appropriate personal protective equipment (PPE) during grinding and cutting operations; mandatory use of safety goggles and dust masks (to prevent metal dust).
- Install protective covers on equipment to avoid splashing of grinding wheel fragments.
- When performing local smooth treatment of welds, avoid excessive grinding of the base metal as much as possible.
- Strictly follow the operation manual when using mechanical tools.
- When using mechanical grinding tools, avoid ties/scarves approaching the tools and accessories to prevent entanglement and suffocation, and avoid hair being drawn into the tools and accessories.
- No one is allowed to stand in the grinding direction to prevent sparks and metal chips from harming the human body.
- Before grinding, confirm that the workpiece is securely clamped; never hold small parts for grinding.
- Clean the workplace immediately after work to keep the workstation tidy.
Quality Verification After Grinding
- Surface roughness test (Ra≤6.3μm);
- Clean surface oil (especially for container welds) before penetrant testing.
- Avoid Excessive Grinding:
- Base metal thinning amount ≤0.5mm (e.g., rail grinding);
- No grooves allowed in the fusion line area (depth ≤0.1mm).
- Specific post-grinding quality requirements shall be implemented in accordance with specific project requirements.
Typical Cases
Aerospace Structural Components: Use five-axis CNC grinding machines combined with vacuum dust collection systems to achieve high-precision, low-dust grinding, ensuring a smooth transition between welds and base metal.
Medical Device Implants: Adopt ultrasonic-assisted grinding combined with electropolishing to meet biocompatibility requirements (surface roughness Ra≤0.1μm).
Summary of Welding Grinding
By scientifically selecting grinding tools, strictly controlling process parameters, and combining post-treatment technologies, the comprehensive performance of various alloy welding joints can be significantly improved, meeting the stringent requirements for reliability, durability, and aesthetics in high-end fields